Here’s a step-by-step guide to fix Memory Integrity on your ASUS ZenBook Duo:
🔒 Why Memory Integrity Won’t Turn On
Memory Integrity (also called HVCI) uses virtualization-based security. The most common reason it won’t enable is incompatible or outdated drivers that conflict with it.
Step 1 — Check Which Driver Is Blocking It
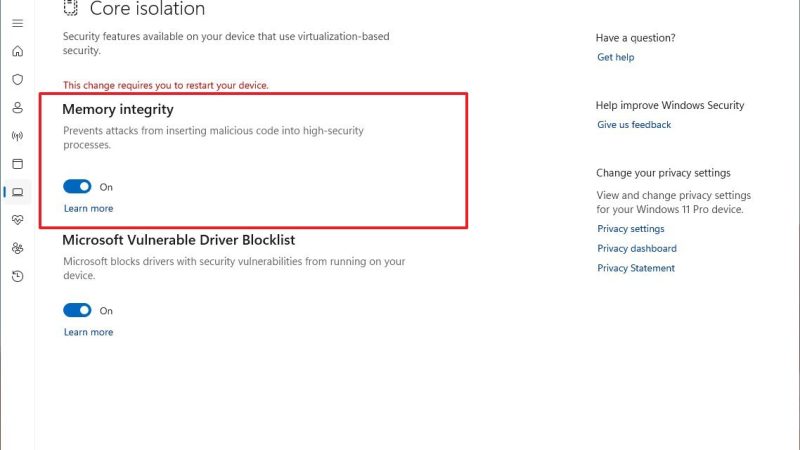
- Go to Windows Security → Device Security → Core Isolation Details
- Look for “Review incompatible drivers” — click it and note the driver name(s) listed
Step 2 — Update or Remove the Incompatible Driver
Option A – Update via Windows Update (easiest): Press Win + I → Windows Update → Advanced Options → Optional Updates → expand Driver Updates, then download and install anything listed there.
Option B – Disable in Device Manager: Press Win + X → Device Manager. For each problematic driver, right-click it and select Disable device. If you can’t find it, go to View → Show hidden devices to reveal inactive drivers.
Option C – Force delete via Command Prompt (advanced): Open CMD as Administrator and run:
pnputil /delete-driver oem58.inf /uninstall /force
Replace oem58.inf with your actual driver’s published name. You’ll see “Driver Package Uninstalled” when done.
Step 3 — Check BIOS Virtualization is Enabled
You need to: (1) enable CPU virtualization in the BIOS, (2) go to Control Panel → Programs and Features → Turn Windows features on or off and enable virtualization there, then (3) try turning on Memory Integrity again.
On ASUS ZenBook, enter BIOS by pressing F2 at boot, then look for Intel Virtualization Technology (VT-x) and make sure it’s Enabled.
Step 4 — Enable Virtual Machine Platform in Windows
Search for “Windows Features” → Turn Windows features on or off → check both Virtual Machine Platform and Windows Hypervisor Platform → click OK and restart.
Step 5 — If Still Not Working (Registry Fix)
Open Registry Editor (regedit) and navigate to: HKEY_LOCAL_MACHINE\SYSTEM\CurrentControlSet\Control\DeviceGuard\Scenarios\HypervisorEnforcedCodeIntegrity Create a DWORD value named “Enabled” and set it to 1, then restart.
Step 6 — Run Windows Update
Go to Settings → Windows Update and check for updates — sometimes optional driver updates listed there will fix the compatibility issue entirely.
Which step are you currently stuck on? If you tell me what driver name appears (if any) in the incompatible drivers list, I can give more targeted advice for your ZenBook.